Live streaming has quickly emerged as a new form of entertainment over the recent years. This new avenue of entertainment was made possible by multiple factors, such as increased stability of internet services, improved quality of market-grade cameras, and the rise of streaming websites. With that in mind, gaming has emerged as the most popular live-streaming content on these platforms, and streaming overlays could be considered one of the key elements to help your streaming channel stand out. In this article, we will provide a full guide on how to add overlay in OBS since this streaming software is the most used program today. We will also explore some of the most popular overlays used in OBS, along with an alternative software that can be used to make overlay setup easier.

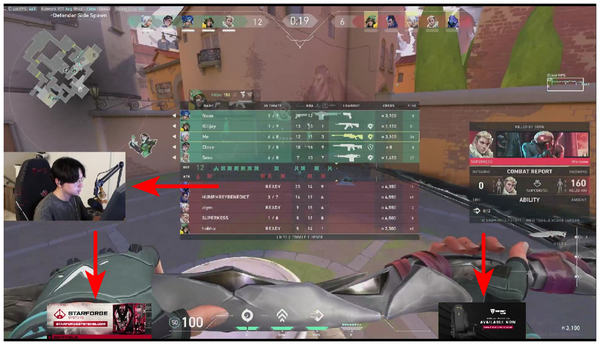
Before discussing overlays, let us first introduce the OBS program. Open Broadcaster Software (OBS) is an open-source screen-recording and streaming program that can be used to share your screen with streaming websites. To make streaming more appealing, an option to add on-screen elements, known as overlays, to live streaming is a core feature of OBS. These overlays range from webcam boxes, notification alerts, in-game displays, and more. To learn how to set up overlays in OBS, please see our quick guide on setting up overlays below.
The easiest way to add overlays in OBS is to use a local image. However, this option is highly limited since it only uses static images and provides little effect on live streaming. Because of that, this tutorial will feature the option to add overlays in OBS using streaming asset websites such as StreamElements.
To learn how to add overlays in OBS using browser links via StreamElements, please read our guide below:
1. Create an account in StreamElements and go to their Elements Gallery section. Then, scroll down and browse for an overlay element that you want to use.

2. After finding an overlay that you want to use, click on it and select the Use Element.
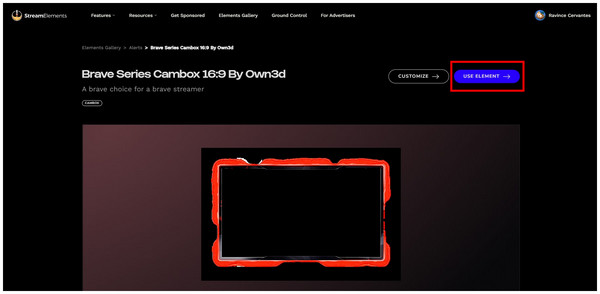
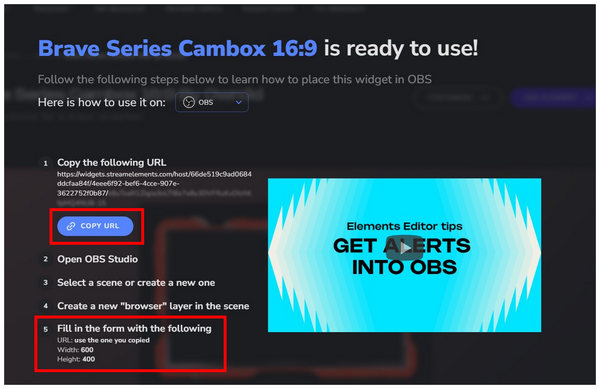
3. Copy the URL in the menu that will pop up and remember the Width and Height dimensions.
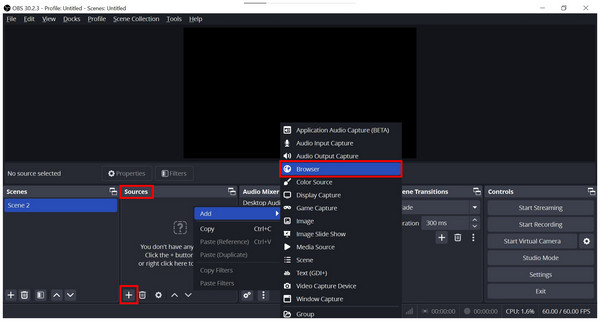
4. Back in OBS, click the Plus button in the Sources tab or right-click on it. Then, choose the Browser option.
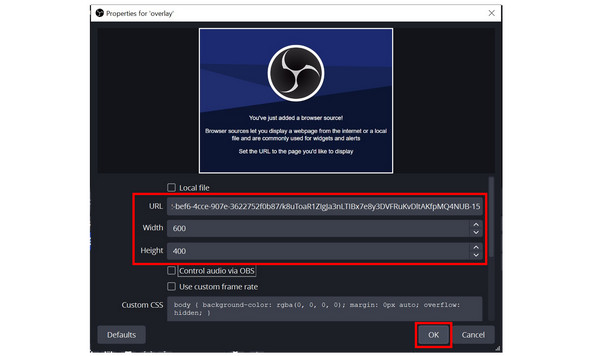
5. Name the source that will be added, then click OK to confirm. In the sources property menu, paste the StreamElements URL in the field, and then set the Width and Height according to the info in the Use Element pop-up found in Step 3. Click OK to confirm the overlay settings.
6. Back in OBS main studio, the overlay from StreamElements is now added to the main display.
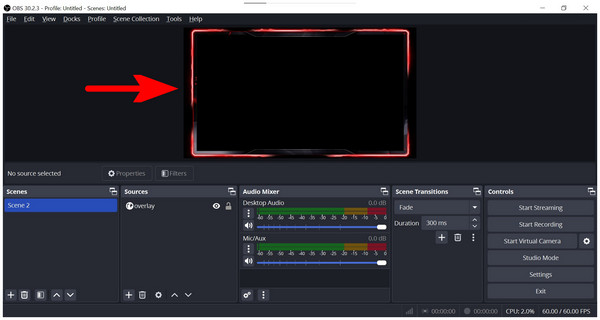
If you want to add more streaming overlays in OBS, simply follow these steps. In addition to StreamElements, you can also find different browser overlay galleries online.
When setting up overlays in OBS, the easiest option is to use a website that provides streaming elements, including overlay assets, to its users for free. With that in mind, this section of the article will focus on the top 10 free overlays available on StreamElements, which include webcam boxes, streaming widgets, labels, icons, and more. If you think that OBS might be too technical, you can proceed directly to the fourth part of the article to learn about our proposed OBS alternative.
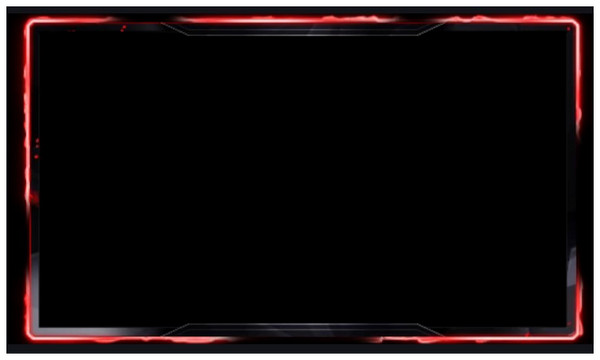
Brave Series Cambox is one of the most basic and safe-to-use animated overlays in StreamElements. This webcam border is a good option if you want to add flare to your on-screen webcams when streaming online.
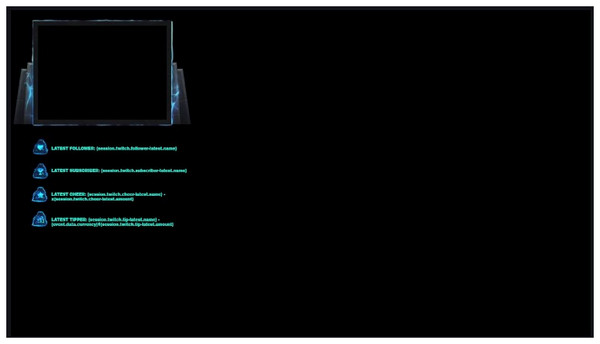
Using a 4:3 webcam overlay is also a viable option if you want to add more info on-screen. This makes the Blue Moonstone 4:3 webcam overlay a versatile and more informative element.
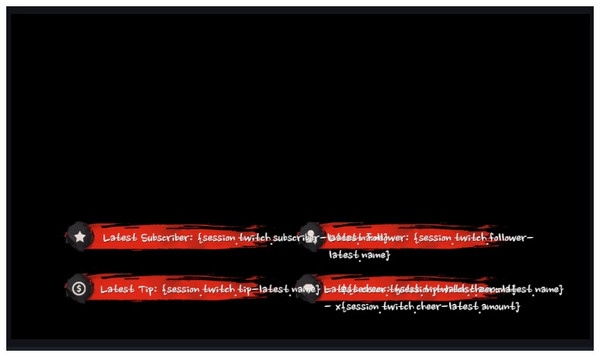
This option is another tool to add channel information to your live-streaming sessions. Due to its Japanese aesthetic, it is an advisable design for anime gaming streamers.
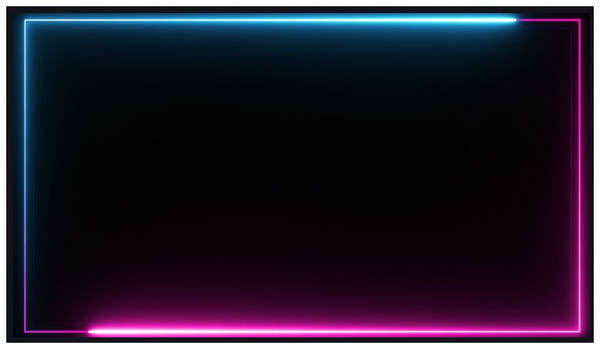
When looking for a cam box design that looks more dynamic, this Neon Gradient is a safe option. This one has more flare than the Brave Series Cambox.
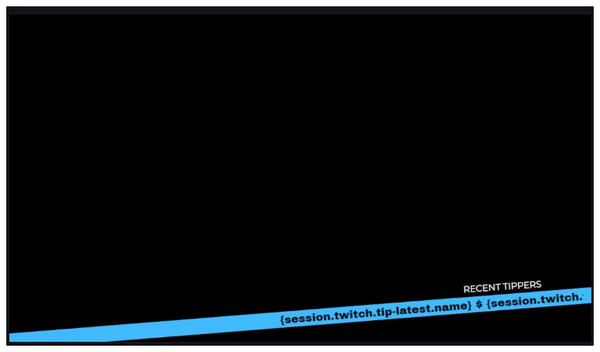
To add appreciation to your streaming community, this moving ticker for recent tips is a good touch that does not occupy too much on-screen space.
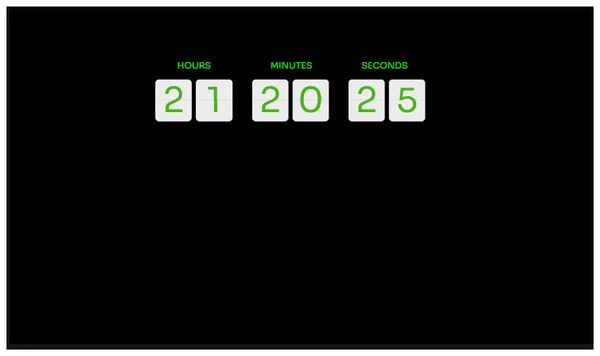
This can be used to provide live timing to the duration of your stream or as a support for streaming marathons to provide more information to your audience.
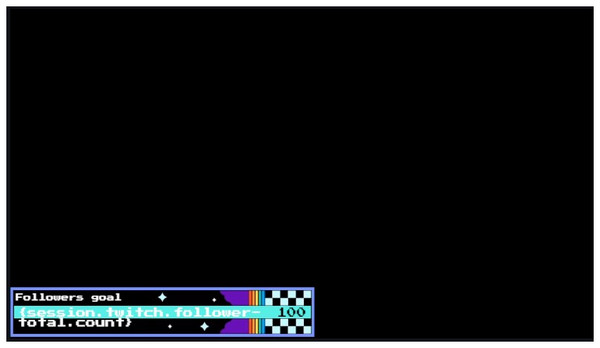
An overlay to add community milestones is another good option for inspiring your viewers to take action while watching your Livestream.

Notification alert provides instant feedback to new members of your community, whether they subscribe or donate while you are live.
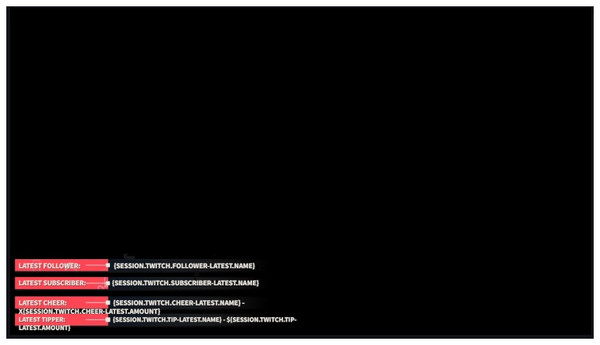
This is an alternative overlay to add community information on screens.
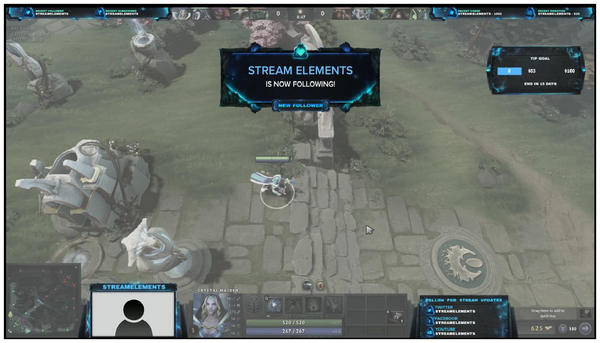
To add more appeal to your live streaming content, in-game overlays could be helpful to highlight vital information in-game that you want to communicate to your viewers.
Although StreamElements is convenient once you understand how to use its system, the technical knowledge required to set it up for the first time could be challenging for new users. With that in mind, it is highly recommended for new users to try using alternative software that can add overlays as a filter for a more straighforward setup. With that in mind, AnyMP4 Video Converter Ultimate is a solid option.
This file converter tool is versatile software that offers multiple features for different multimedia needs. One feature is the ability to apply video overlays using filters as an alternative. This function can be accessed in the software's Collage feature, which will be featured in our full guide below.
Before proceeding to the first step, download the program so you can more easily follow our setup guide.
Secure Download
Secure Download
1. Open AnyMP4 Video Converter Ultimate and go to the Collage section.
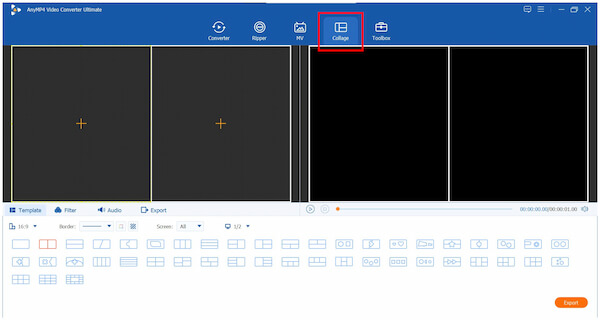
2. Add the recorded video to which you want to add overlays. Then, click on Filter.
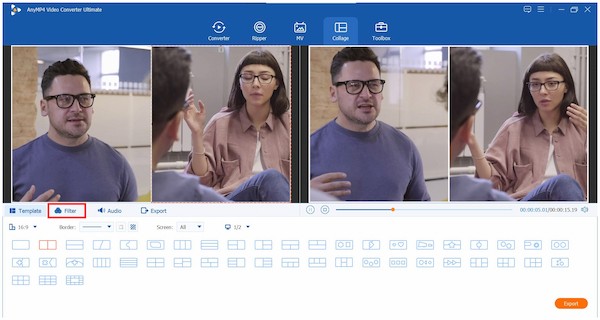
3. In the Filter tab, select the effect you want to use as an Overlay. The filter options include on-screen colors, elements, and themes. If you are unsure which one to use, the Stars filter is a safe option since it naturally looks like an Overlay. Once the filter has been applied, click on Export.
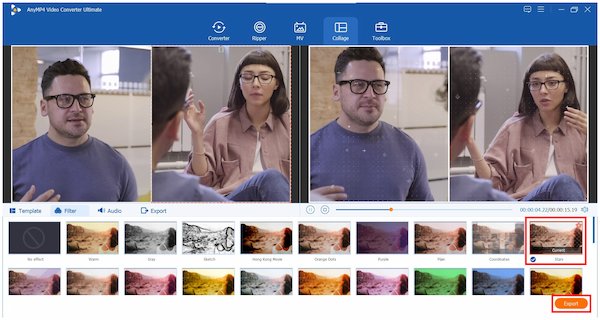
Now that you have added a filter on the video recording that you edited, you can use it as content for your different social media channels. This is a good option for streamers who want to use recorded content for their video-sharing channels or for those who want to share live-stream content to other social media sites.
Now that we have provided you with a general guideline for using overlays in OBS, we hope that this article has proved useful for your needs. If you are unsure if OBS is a good tool due to its technical knowledge requirement and black screen errors, we recommend using AnyMP4 Video Converter Ultimate as an alternative tool to add video overlays.
Please share this article online to help other users looking for an overlay setup guide.