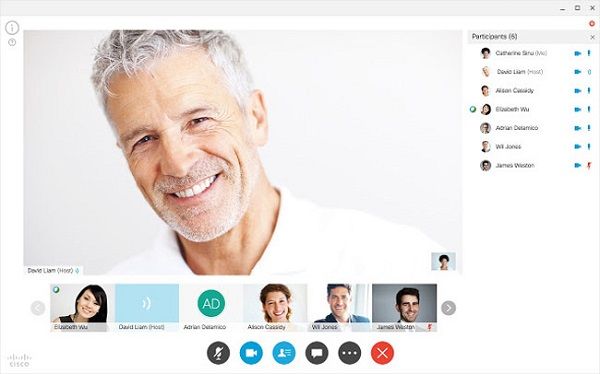
WebEx Recorder is a part of an interoperable ecosystem of solution for working together remotely. Cisco WebEx is a well-known solution of online meetings and video conferencing. It can meet your need for webinars, training, remote technical support, or global online meetings.
In this post, we will share a complete guide of WebEx Recorder, and then you can save important video meetings simply.

With WebEx Recorder, you can capture:
Pros
Cons

Step 1: Open your web browser, access Cisco WebEx official website and log in your account. Head to Recorders and Players > Recording and Playback. Find WebEx Recorder and click Download button to get it.
Tip: WebEx is not a free service and it starts from $19.
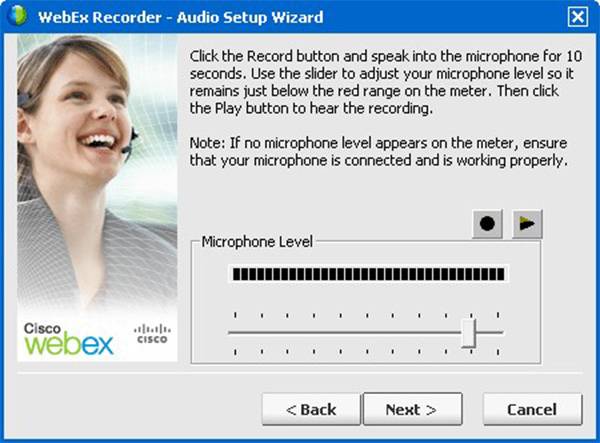
Step 2: Run a WebEx meeting on your computer, and head to Meeting > Recording Settings > Record on this computer. Bear in mind that the recording feature is only available if you are a host of the meeting. Next, select the Record audio from this computer option.Then, you can record audio on your Mac or Windows!

Step 3: Invite other participants to the meeting, and you will get the Record button. Choose a specific folder to save the meeting recording. Once click the red Record button, your meeting will be captured.
Step 4: During the meeting, you can control the recording, like stop, pause and continue. When the meeting is complete, the recording will be saved as a WRF file. To view the conference recording file, you need WebEx Player.
Note: For playing the WebEx recording file, you only need to run the WebEx Network Recording Player. If you want to share the ARF recording files with others, then the receiver will beed the professional ARF player.
As you can see, WebEx Recorder has some downsides. If you are looking for an alternative, we will recommend AnyMP4 Screen Recorder since it is more powerful.
Apparently, Screen Recorder is an easy way to record online meetings without WebEx Recorder.
Secure Download
Secure Download
Step 1: Install the best alternative to WebEx Recorder
Launch Screen Recorder after you installed it on your PC. There is a dedicated version for Mac.
Next, create an online meeting using WebEx or other services.

Step 2: Record an online meeting
Select Screen Recorder from the main interface. There are four options, Display, Webcam, System Sound and Microphone. Turn on Display and set the recording area according to the online meeting. Then enable System Sound and Microphone to capture voice from you and participants. If you want to add your reactions to the recording, enable Webcam.
Once the meeting begins, click the REC button on the alternative of WebEx Recorder to start capturing it.
Tip: To set the custom options related to Recording, Output, Hotkeys and more, click Settings icon to open the Preferences dialog.

Step 3: Save the recording
Wait for your meeting to finish, and hit the Stop icon to open the recording in Preview window. Press the Play icon to view the meeting capture. If you are satisfied, click the Save button to export it according to your settings.

The meeting records made by WebEx Recorder can only be edited by WebEx Editor. If you do not like it, you can try AnyMP4 Video Editor.
In short, Video Editor is the best way to edit your meeting recordings.
Secure Download
Step 1: Import WebEx recordings
Download and install Video Editor on your computer and launch it.
There are two ways to import WebEx recordings:
Drag and drop the recording files into the storyboard area.
Click Add photos and videos here button and import the files on open-file window.

Step 2: Edit WebEx recordings
Select a recording and click the Edit menu to open it in the Video Editor window. Here you can crop, clip, rotate the video, and adjust contrast, saturation, brightness and more. After editing, click the OK button to go back the home interface.
Arrange the recording clips to the desired order on the storyboard and decorate them with Text, Transitions, Filters and Elements on the right panel. To set background music, click the Plus icon next to Add Background Music at the bottom.
Tip:

Step 3: Convert WebEx recordings
After you edit WebEx recordings, click the Export button to open the export dialog. Go to the Video tab, select your favorite video format and quality. If you want to playback the meeting recording on portable devices, go to the Device tab and select the target device. Finally, click the Convert button to output it to your hard drive.

Now, you should understand what is WebEx Recorder, what it can do and how to use it. As a part of WebEx conference service, WebEx Recorder makes it easy to record your meetings. However, it is not the best way to capture online meetings when you consider the downsides. That is why we share the best alternative to WebEx Recorder, AnyMP4 Screen Recorder. It is not only easy to use, but capable to save conference recordings in popular video formats. If you have more questions relate to WebEx, please leave your messages below this post and we will reply it as soon as possible.