iPad is a good tool to read PDFs because of its large display screen. You can use the iBooks app to store and open PDF files. iTunes used to be an official file transfer software for all Apple devices. However, your previous files will be replaced dafter syncing with iTunes. Thus, more and more people want to transfer PDF to iPad without iTunes. If you don’t want to use iTunes to transfer PDF files, you can take the following three methods to solve the problem.

No matter you want to transfer PDF to iPad from your iPhone/iPad/Windows/Mac or reversely, you should not miss AnyMP4 iPhone Transfer Pro. The iOS file transfer software allows users to import/export PDF, ePub, documents, eBooks, contacts, messages and almost all file types from and to iPad. You can manage and transfer all iPad PDF files with ultrafast speed.
Moreover, you can sync iTunes data to your iPad or computer without data loss. The preview window can show you the detailed information before transferring with iTunes. By the way, you can manage iPad files with the built-in contact manager, ringtone maker, HEIC converter and more here.
Secure Download
Secure Download
Step 1. Launch iPhone Transfer Pro after installing. Plug iPad into the computer with a lightning USB cable. You need to trust this computer to enable USB debugging.
Step 2. Click “Others” in the left pane. Then choose “Books” to access the iPad Books app. You can see all your iPad documents displayed in categories.

Step 3. Click “+” to copy books from desktop to iPad. You can add one or more PDF files simultaneously. After choosing the PDF files, iPhone Transfer Pro will start transferring PDF to iPad from Windows or Mac immediately.
Note: If you want to transfer PDF from another iOS device to iPad, you can click the phone icon on the top toolbar instead. Don’t forget to connect the source device to this computer, too.
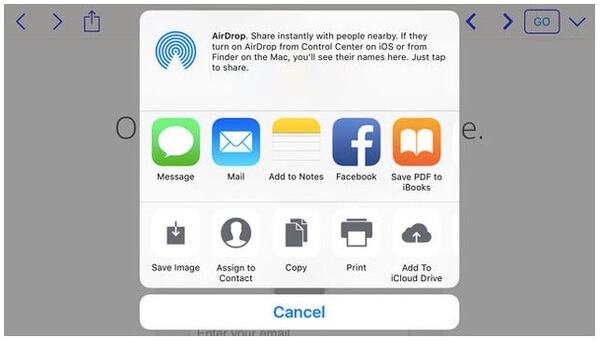
AirDrop is a built-in file transferring service for all Apple users. You can AirDrop some PDF files to iPad without iTunes wirelessly. There is no need to plug iPad into the computer using a USB cable.
Step 1: Go to your Mac computer. Run AirDrop. Choose “Contacts only” or “Everyone” from the “Allow me to be discovered by” list.
Step 2: Open the “Settings” app on iPad. Make sure the “AirDrop” option is triggered on.
Step 3: Open the PDF file. Choose “AirDrop” from the “Share” menu. Choose the contact to transfer PDF to iPad from Mac with AirDrop.

You can also use a cloud storage service to share PDF files, such as iCloud, Google Drive and more. From this section, you can get the detailed steps to transfer files from PC or Mac to iPad using iCloud.
Step 1. Visit iCloud.com on a web browser on your computer. Sign into your iCloud account.
Step 2. Choose “iCloud Drive” to access the iCloud drive page. Choose “Upload” to upload PDF files to iCloud drive.
Step 3. Then open the Files app on your iPad. Tap “Browse” > “iCloud Drive” > “Select” > the uploaded files > “Move” > “On My iPad” > set a destination folder > “Move” to transfer PDF documents to iPad using iCloud.

Conclusion
If there is no USB cable around you, you can share PDF to iPad with AirDrop or iCloud. Check the file size before transferring PDF files. iCloud has a 5GB free storage limit. If you want to get the superfast speed to transfer large PDF and other documents to your iPad, using AnyMP4 IPhone Transfer Pro is the quickest way. You can switch data to iPad from your old iPad or computer quickly and easily. There is no need to worry about the file size limit and Wi-Fi speed. Just free download the program to transfer PDF to iPad without iTunes right now!