This article mainly introduces how to put an iPhone into recovery mode including all iOS versions. Thus, you can get specific steps to get iPad into recovery mode as well.
Moreover, it also provides a powerful tool for users to fix iOS system errors. As a result, once you encounter any hassle question, you can run it to fix your iPhone or iPad back to normal state effortlessly. Well, no professional skills are required.
Now, let's read together to put iPhone in recovery mode step by step. No matter which Apple phone you use, you can always find the best solution here.
Before getting your iPhone/iPad into Recovery Mode, you should first know what Recovery Mode is. Actually, Recovery Mode is a failsafe in iBoot that is used to refresh or update your device with a new version of iOS. You can restore your iOS device to Recovery Mode when your iOS System is damaged or needs updates.
So when should you enter into recovery mode on iPhone or iPad? The followings scenarios that can be your references.
In a word, when you fail to update or restore iPhone, you need to put iPhone in recovery mode to try for a second time.
To start with, turn off your iPhone or iPad manually. Then update iTunes to the latest version. The whole process to put an iPhone into recovery mode is not difficult. Though you may need to press different key combinations due to iPhone series.
Step 1: Plug your iPhone into computer with a lightning USB cable.
Step 2: Open iTunes Application.
Step 3: Press and quickly release "Volume Up" button, and then "Volume Down" button.
Step 4: Keep holding "Side" button until the "Connect to iTunes" screen pops up.
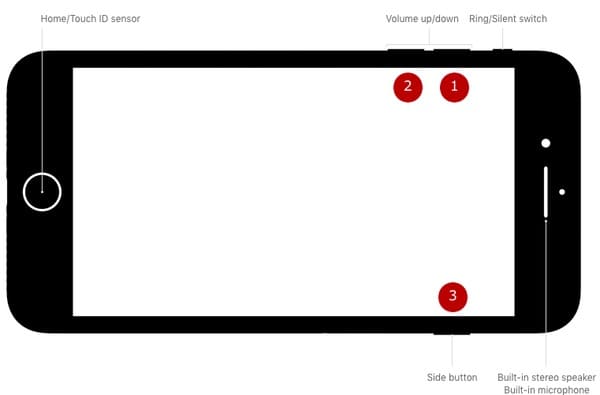
Step 1: Hold and press "Power" button for about 3 seconds.
Step 2: Slide from left to right when you see "Slide to power off".
Step 3: Long press "Volume Down" button on your iPhone 7.
Step 4: Connect iPhone to Mac or Windows PC with a USB cable, and then run iTunes.
Step 5: When you see "Connect to iTunes" screen, release the "Volume Down" button.
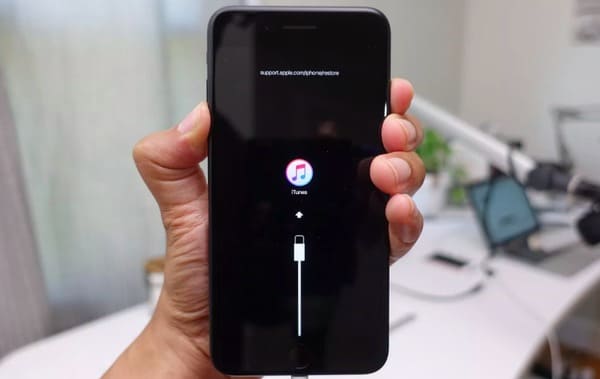
Step 1: Keep holding "Power" button for 3 seconds until "Slide to power off" screen pops up.
Step 2: Slide off the progress bar.
Step 3: Hold and press "Home" button.
Step 4: Connect iPhone or iPad to your computer, and make sure iTunes is running.
Step 5: Do not release "Home" button until the "Connect to iTunes" screen appears.
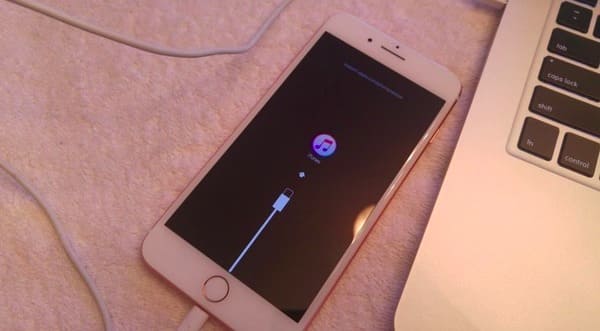
If recovery mode does not work, you can put iPhone in DFU mode to solve the problem instead. To exit iPhone recovery mode, just disconnect iPhone from computer. Then you can reboot it manually to get iPhone out of recovery mode.
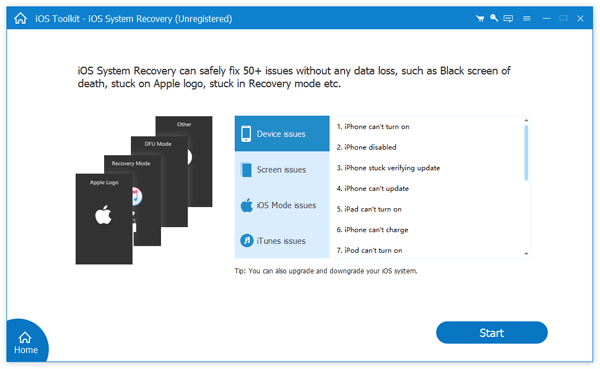
By using AnyMP4 iOS System recovery, you can fix iPhone system errors easier than before. No data loss or overwriting will be caused. You can follow its on-screen instruction to repair iOS system problems by yourself, like Apple logo, headphone mode, black screen and more. Well, the software works with all iOS models and computer operating systems. So it can be your best alternative to put iPhone in recovery mode here.
Secure Download
Secure Download
Step 1: Connect iPhone to iOS System Recovery
Free download and install AnyMP4 iOS System Recovery software. Launch the program and plug iPhone into your computer with a lightning USB cable. Choose "iOS System Recovery" and then enter into iPhone recovery mode screen. Select one repair mode from "Standard Mode" and "Advanced Mode".
Step 2: Enter into iPhone recovery mode
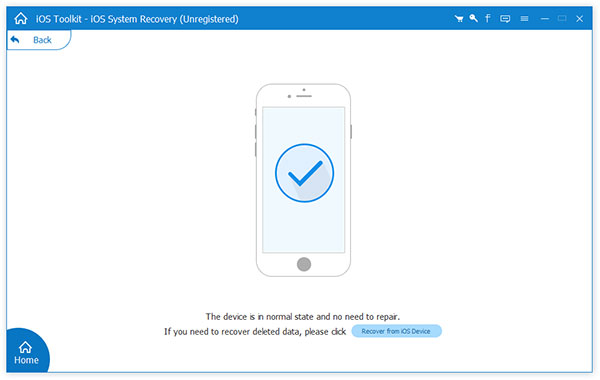
Do as the on-screen instruction show to put iPhone in recovery mode. During this time, you can get 3 different categories including "iPhone 8 and Later/iPad with Face ID", "iPhone 7/7 Plus" and "Other iDevices". If you fail to get into iPhone recovery mode, you can click the hyperlink at the bottom to put iPhone in DFU mode as well.
Step 3: Download firmware package
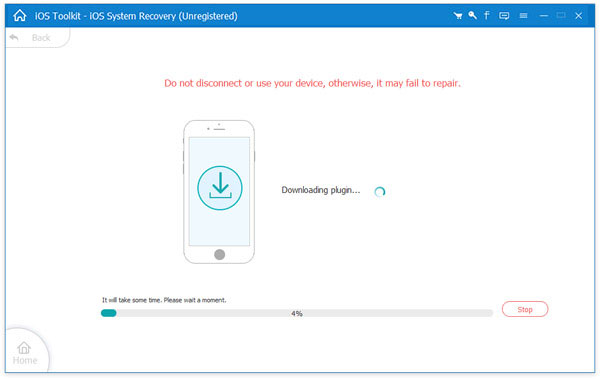
The software will show you the detected iOS information. Check and correct if there is something wrong. You can choose from "Device category", "Device type", "Device model" and "Update to iOS device". Then choose "Download" to start to download firmware package.
Step 4: Fix iPhone back to normal
Once the firmware is downloaded, the software will start to repair your disabled or frozen iPhone automatically. Just wait for a while to complete the process. What's more, you can view its progress bar to see the left time directly. After that, you can reboot your iPhone without data loss. (iPad keeps rebooting?)
AnyMP4 iOS System Recovery is always your first choice to fix and restore iPhone without data loss. In addition, even though you fail to put iPhone in recovery mode, you can also turn to iOS System Recovery for help. No matter which problem you meet, just free download the iPhone recovery mode software for a try. You will not regret for your choice.