In this article, we will discuss the best way to convert videos from YouTube to DVD by using the best DVD creator software available today made for modern Windows and Mac computers with AnyMP4 DVD Creator. We will discuss the best features that the software provides, along with a step-by-step guide to learning how to copy a YouTube video to DVD.


Yes, you can. As we mentioned in the introduction of this article, the best software that can do this is none other than AnyMP4 DVD Creator. In the next part of this article, we will highlight the best features of this software to learn what makes it the best tool for this job.
Before that, let us first discuss what makes DVD burning worthwhile in today’s digital market.
Although DVD players and video ripping and burning are not as popular today as in their prime, the benefits that they provide to their users have not shrunk in value over time. In fact, movie enthusiasts and music lovers still choose DVD and Blu-ray platforms to enjoy their favorite hobby. This factor also applies to dedicated fans of YouTube since a physical copy of their favorite videos is the best way to save it with the highest security and privacy. Surely, a physical platform that you can hold on to will be more secure than relying on cloud storage and other forms of digital platforms.
With all that in mind, we can now proceed to discuss what makes the mentioned AnyMP4 DVD Creator the best tool that can convert YouTube videos to MP4 in the next part of this article.

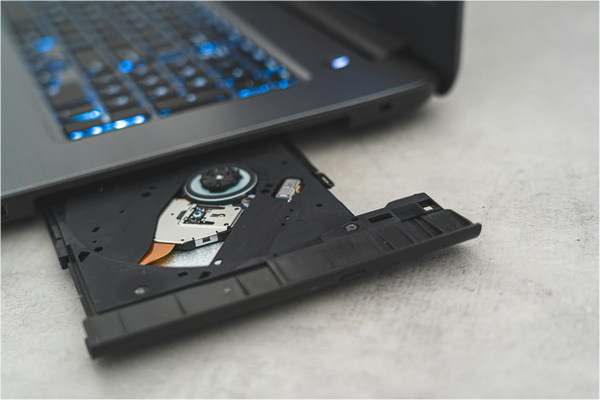
AnyMP4 DVD Creator, a DVD, and an optical disk drive are all you need to start converting your favorite YouTube videos to DVD. Out of that list, the DVD and the disk drive are the most basic, but what really makes AnyMP4 DVD Creator the best software for this job? We will answer this question by highlighting the best features that this software provides.
To start, the sheer video format support that the software can convert to DVDs takes the cake for the most versatile DVD creator tool in the market. In fact, widely supported formats, such as MP4, AVI, MKV, and MOV, are all supported along with other unconventional file types like FLV, SWF, MPEG, VOB, and more.
Moreover, it is also equipped with a fully functional DVD menu editor, which allows you to customize the physical disc that you want to produce. To top it all off, powerful editing tools that can refine the downloaded YouTube videos before burning are also present. These editing tools can be used to crop and clip videos, add a signature watermark, and add filters and effects for your personal touch.
All of these features can be used behind an extremely user-friendly interface and super-fast burning speed. To learn how to use this software to burn YouTube Videos to DVD, please proceed to the next part of this article, where we will provide a detailed step-by-step guide that you can follow accordingly.
Now that we have discussed the best features that AnyMP4 DVD Creator provides, we will present a detailed step-by-step guide to help both beginner and experienced DVD producers learn how to use this powerful software.
Let us start first by downloading the software with the link below.
Secure Download
Secure Download
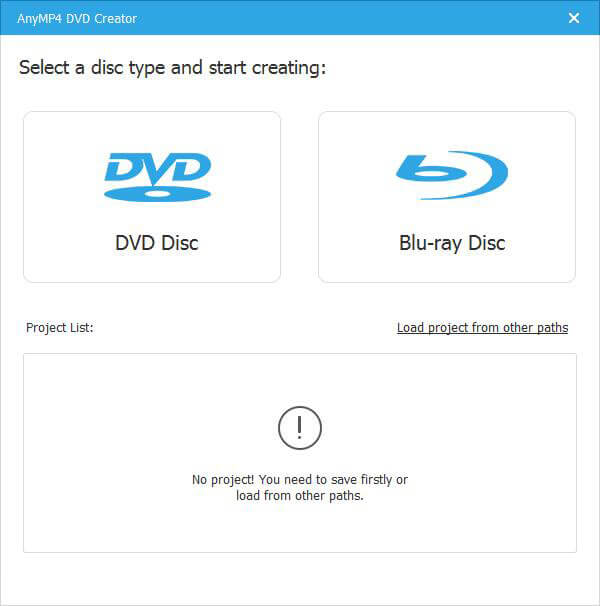
1. Insert a brand new DVD into your computer via a dedicated disk drive or an external one. In the main interface of the software, select the DVD Disc option.

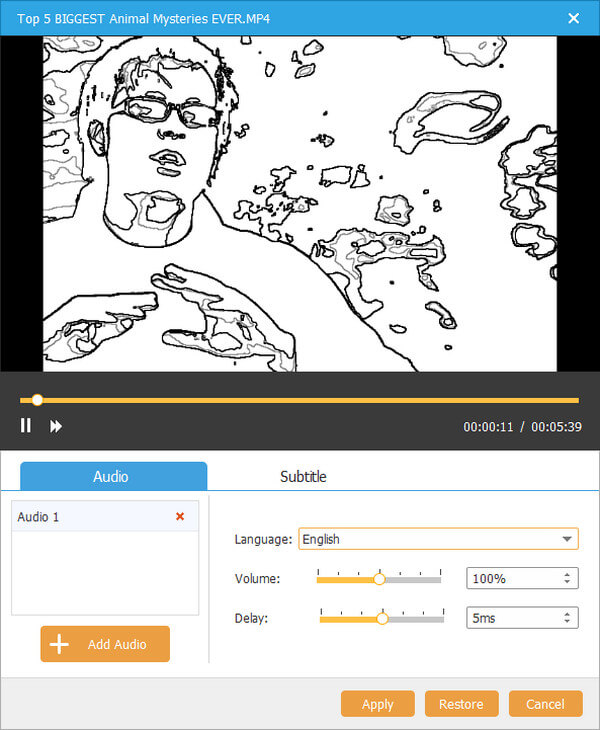
2. With the disc now added, all you need to do is add the video that you want to burn. Afterward, you can now adjust both the Audio and Subtitle settings of the video according to your liking.

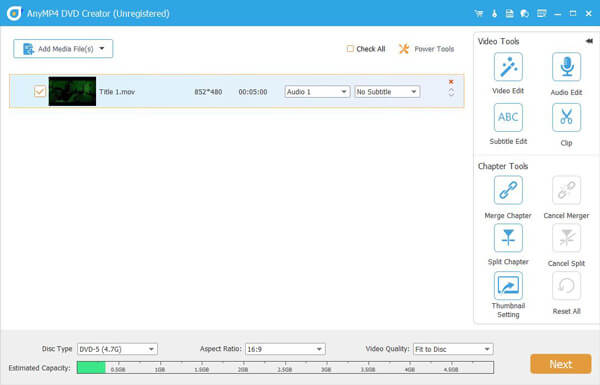
3. Once the video has been added, you can now access the Video Tools available in the software. Click on Next to proceed to the Menu editor.

4. The Menu Editor is where you can customize the menu interface of the DVD that you are producing once it is played in a DVD player. In this section, you can use multiple templates that are readily available, or you can customize the menu on your own. Once satisfied with the menu or if you wish to add none at all, click on Burn.

5. With the video, audio, subtitles, and menu all intact, all you need to do now is to set the DVD path where the YouTube video will be burned. Simply click on Start to initiate the burning process.

By following these five simple steps, your favorite YouTube videos are now saved on a DVD that you can keep for safekeeping or other purposes. Additionally, you can now enjoy watching these videos without the fear of it not being available or deleted in the future. On top of that, all of these can be done with ease of use in mind thanks to AnyMP4 DVD Creator’s seamless design.
How much does it cost to convert video to DVD?
It can be done for free. You just need to know the right software to use. The best and easiest to use in the market is AnyMP4 DVD Creator.
What is a DVD burner?
DVD burners are software that can burn videos to DVD. Burning is the process of saving video or audio files to DVDs. The easiest in the market is AnyMP4 DVD Creator.
Can I convert YouTube to CD for free?
Yes, you can. The best YouTube to CD converter can be used for free. It is none other than AnyMP4 DVD Creator. You can also use this to convert from YouTube to DVD.
How to burn YouTube videos to DVD without software?
It is impossible. You cannot burn YouTube videos to DVD without software. This process cannot be done with no burning software in hand.
What is the best tool that can burn YouTube video to DVD free?
AnyMP4 DVD Creator is the best tool for this purpose. It can also be used for free. On top of that, it is very easy to use.
Now that you have learned how to convert YouTube videos to DVD, compiling your favorite videos on YouTube to your physical disk is now possible. All you need to do now is to choose the videos from the vast catalog of YouTube.
Please share this article online to help other users learn how to convert YouTube videos to DVDs.